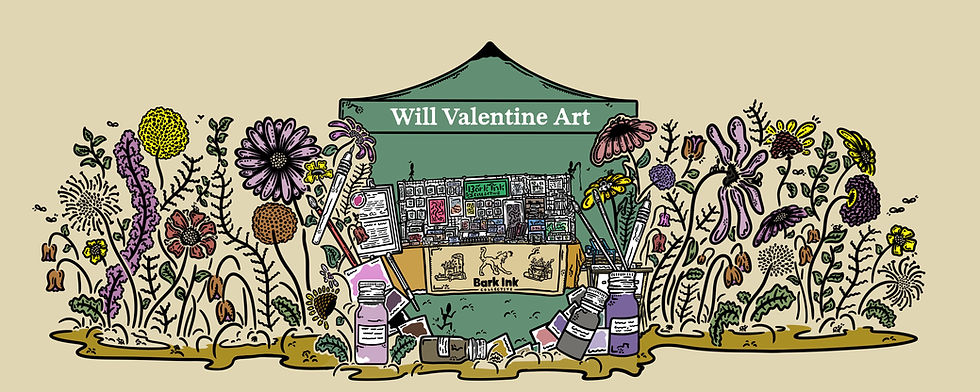
The Natural Ink Wild Colour Club
The Natural Ink Colour Club Is for those who love to collect, use and adore all things Ink. There are a variety of subscription options and you can be the first to receive the latest newest Inks I have collected and made.
Natural Inks
My Journey With ink-making first began during my Masters in 2023-24, a fascination was captured by this relationship between place, creative practice and the materiality of place. Considering how through the use of found materials may we engage and ultimately form bonds to places in an alternative way than I ever have before. This masters work manifested itself into a project titled 'collections in place' which questions this relationship we hold to place and the effect experience shaping the bonds we hold to a space.
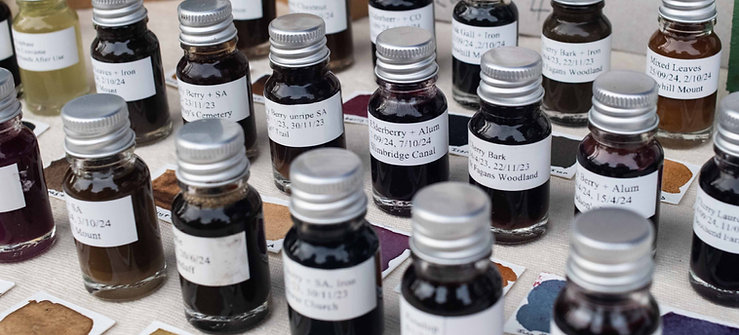
To Date my collection of natural inks sits at 37 unique material Inks, with a screen printed collection of 34 of these. Stocks fluctuate but to date I currently sell a variety of around 30 different Inks, From Oak Galls to Holly Berries and Nettles. Seasonally stocks shift and grow as new plants fall into season.
From the Quayside in Bristol, to outskirts of Cardiff Castle, from small Parks in Central London to local village greens there is something to forage for all. Knowing what to forage when first starting out is a somewhat daunting and overwhelming task. Depending on the time of year, you may be welcomed by the cold and leafless trees of winter or an abundance of fruits, galls and cones which present their own overwhelming feeling in their seemingly limitless bounty. Of course some materials work incredibly well as opposed to others, however my general motto is, if it fits in a pot then there is an exciting unknown potential within it. You can only know what colors to find by giving them a try! It is often assumed that each ink I make and step I take to produce a new Ink has come from some precise rulebook, which could not be further from the truth. I have learned materials I enjoy, Inks which I love and materials I enjoy foraging and using and where to find them In abundance. However much of the materials I use are dictated by my encountered environments and this is a rule I feel is good to follow.
If in a more urbanised space, do not be discouraged at your ability to find, despite living in a rural countryside space, my only Walnut finds to date have come from a small part in central London.
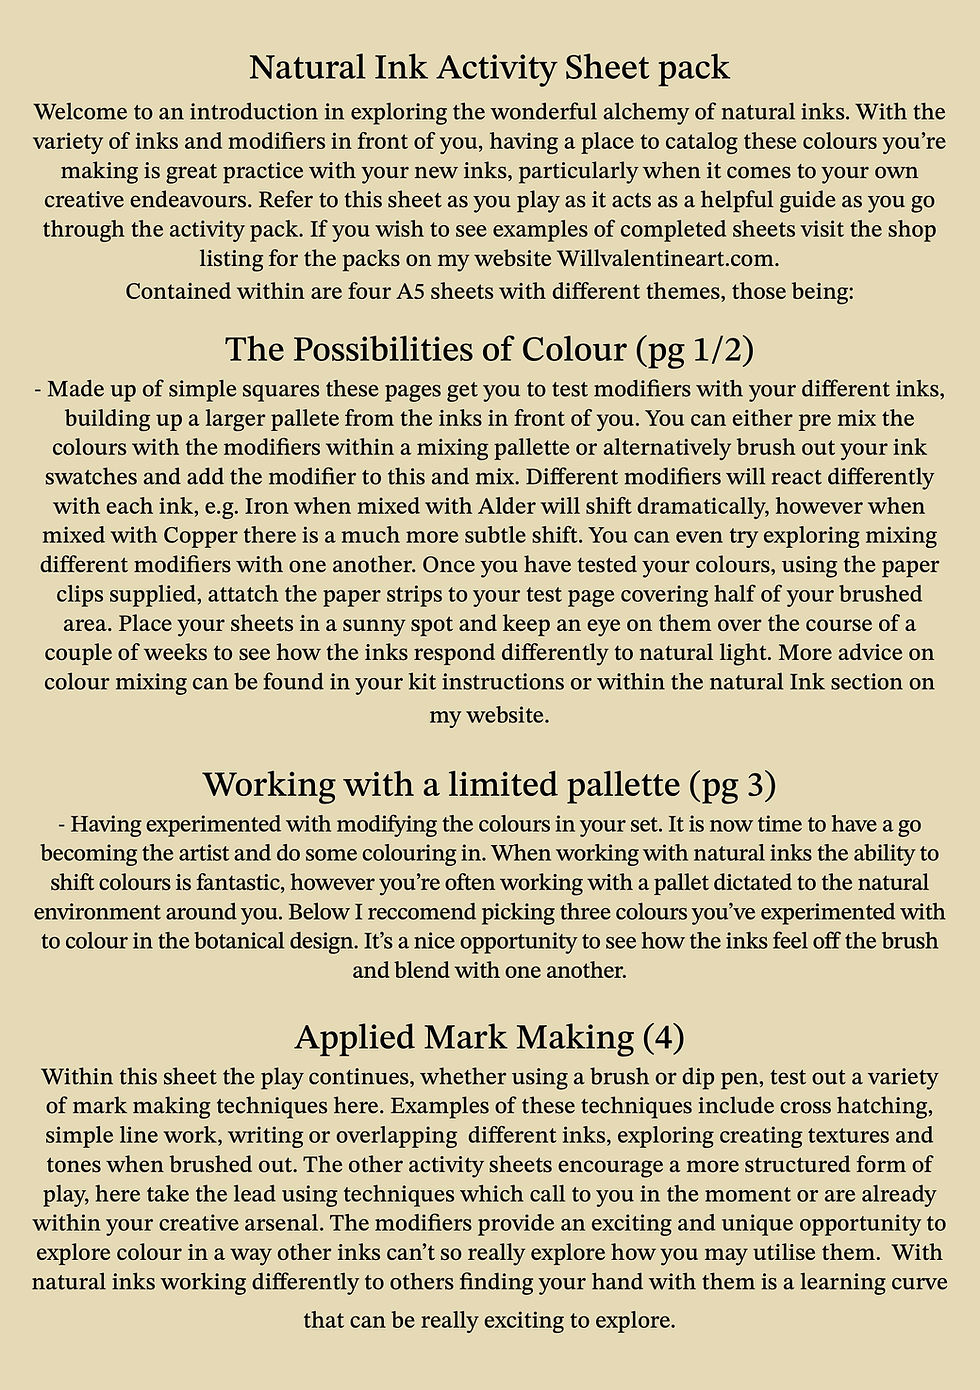
This Page explores my own journey in natural ink making, a guide on how to use my own product line, a guide on how to make your own natural inks and answers to many commonly asked questions. If you have any questions to there is extra information you'd love to see on this page, please do let me know as feedback is always appreciated.
Shop The Range
Natural Ink Set - Experimentation and play - How to Use
If you have purchased a natural Ink set from me in the
past or are considering playing with natural Inks yourself,
this section is a guide for how to use them. There is no
single method of use, I advise and recommend freedom
of play to really get used to the wonders of experimenting
with Natural Inks. This play may manifest as free
patterns or a more structured approach to understanding
what modifiers work with what Inks. The modifiers
which you may have in front of you depending what Kit
you have purchased from me are:
1. Iron sulphate
2. Alum Sulphate
3. Soda Ash
4. Copper Sulphate
5. Citric Acid
In beginning to play a general rule of thumb for
the modifiers are - Iron will make Inks darker,
Alum with push berries towards more purply
tones however is less effective on wood based
inks, Soda ash will make things more orange,
sepia or towards green based tones and copper
will intensify Berry based tones and likely head them towards more red-ish versions of themselves and much like alum will be less effective on wood based inks, Citric acid put shortly will turn Pinks even Pinker!
To Begin:
1. Before using any of the natural Inks or modifiers, I recommend giving them a small shake. Each is filtered through coffee filters and hessian, however sediment still likes to find itself. This is incredibly pigment rich and great to use. Once you’ve finished your bottle of Ink, you can always add a small amount of water and extend the life of your bottle by using the colour still left within.
2. A great place to start is using the Oak Gall ink, and once you've done this hopefully all other experiments should click. Finding your Oak Gall Ink or other Natural Ink you have purchased from me, using a brush (or even your finger, however make sure to wash your hands post use) mark out a square at a minimum of 4 x 4 cm onto a page.
3. Using the Pippette provided in the kit drop a drip of Iron Sulphate within the area of your brushed out ink.
4. You will notice the colour immediately shift. Oak Gall will instantly react towards a very deep grey and in the period following as it dries you can watch as it oxidises and deepens into this beautiful black! Other Inks such as Sloe, Cherry Bark, Nettle and Elderberry will all react differently in colour however you will notice they ultimately deepen all the same.
5. Ensure you wash your Pipette post use as any remaining modifier within the Pipette may react with other inks you may use and provide you with colour shifting you are not looking to do.
6. This method of Modifier mixing can be repeated for all liquid modifiers e.g. Aluminium Sulphate, Iron Sulphate and Copper Sulphate. This can be done on the page or alternatively you may mix the colours within the mixing dish provided or any utensil you may already own. You can also add very minute amounts to shift the colour in a gradient so it can be fun to chuck down ink on paper or be more methodical to find the exact colour you’re looking for.
7. When using Soda Ash, as opposed to beginning by using Oak Gall, I recommend grabbing A sloe or elderberry Ink contained within your Kit. Using the same brush out method creating a square. You can sprinkle out the soda ash onto the page, You will notice as it makes contact with the ink it will immediately shift in colour.
8. Much like the Iron, Copper and Alum using a mixing dish will dissolve the soda ash into the ink solution creating your new colour in the palette.
There countless possibilities of play within the confides of the kits you have purchased, they are best used from intuitive experimentation and play and I truly hope you love experimenting as I do. Thankyou so much for your purchase, your support means so much to me as it does for all small businesses. The inks across my kit ranges vary depending when purchased as my stock is seasonally dependent.
Photos are soon to follow - within these I will show further the effect the inks modifiers have on one another.
My current personal collection of natural inks sits at 37 unique natural base material inks, below I have listed those currently within my collection, with stars for those I eplore you to try and times of year you may find them. Times of year may vary and these time periods are only rough estimates.
From my Collection: What To Forage:
If you're keen to begin foraging and are unsure how you could possibly begin to document or remember the spaces in which you spotted some those sweet chestnuts which haven't quite dropped. I myself use location pins on google maps which keeps track of what I've found and where to find it.
From My Collection I have Inks made from:
1) Ivy Berries (ripe and unripe with different results).
2) Oak Galls * (Summer- July-September)
3) Alder Cones * (August- December)
4) Pine Cones
5) Monterey Cypress cones (September)
6) Holly Berries
7) Holly leaves
8) privet Berries
9) Sloes
10) Oak Leaves
11) mixed Leaves
12) Sweet Chestnut
13) Horse chestnut
14) shaggy Inkcap Mushrooms
15) Pine needles
16) Plum
If you've not bought a make your own Ink Kit but are interested in starting from scratch yourself, this guide is pretty universal for all inks you may endeavor to make. So give it a go and let me know your results.
Health and Safety
If you've purchased inks, have bought one of my make your own ink kits or are looking to follow this as a guide. It is important to be careful while doing so. Some things to be careful of are:
-
Boiling Water - things get hot, if you're filtering inks at high temperatures go careful not to burn yourself, and leave to cool if you're not confident in doing this. Leaving your natural material for that but longer will only enhance and strengthen the color you will produce.
-
If you've bought an Ink from me, these are of course not consumable and should be kept out of reach of kids and only used with supervision.
-
Wash Your hands, in using both the inks and modifiers and all natural material, be careful to wash your hands regularly.
-
In boiling Inks, do this within a well ventilated space not only for the smell, however like anything in the air, this could effect those with breathing difficulties e.g. Asthma.
-
Modifiers such as Iron Sulphate, Soda Ash, Aluminum Sulphate, Citric Acid and Copper Sulphate should all be handled with care, washing hands regularly with use and keeping.
Guidance for use:
If you've purchased Inks from me before or are interested in making an order, here are some answers to commonly asked questions.
How can I use them?
With any sort of dip pen or quill they can be used as a dipping Inks.
Can I dilute the Inks?
Being water based all natural inks can be diluted with water.
Are the Inks water or oil based?
All the natural Inks I sell are Water Based. Natural Inks will function differently to other inks you may be used to. Being made from the world around us is a beautiful thing, however introduced challenges which mean they stand apart from conventional inks. When stalling I often describe them as sitting within somewhat a middle space between an ink and watercolour, you'll get a stronger strength bush stroke than off a watercolour, but weaker than a conventional ink. The colours are more muted and sit with an opaqueness that other inks may not have. A simple reason for this is, you can only reduce the inks so much before the ink becomes a syrup, and when it reaches this stage they will dry sticky, be too thick and no longer be useable as inks. So finding a balance is hard between strength of colour and usability.
Can I use these as a refill for my fountain pen?
NO these cannot be used as fountain pen re-fills, natural inks can be corrosive to re-fil pen nibs and should only be used for dip pen or brush use. I supply mu own Dip pens which can be are perfect for use with these Inks.
How can I screen print myself with these?
Get aprox 100ml of Ink to a boil, mix wheat starch and a small amount of water in a separate container. Then add small amounts of the diluted wheat starch while continually mixing Inks until thickened to a yogurt like consistency. Keep In mind Inks will thicken further once cooled. To best store Inks, Add Olbas oil and keep refrigerated. If once stored for some time they thicken further, simply add water and stir thoroughly until at a useable consistency again.
My Ink has Moulded, is it still useable?
If you notice mould having grown in your ink or signs of it, all is not lost. You can simply remove the mould with a paint brush, add a couple of drops of any essential oil or add a couple of cloves within the bottle and tadaa your ink has a new life.
Im learning new things all the time and answering new questions at every event. The world of natural inks is confusing and fascinating all the same so questions are expected. If you have any enquiries if you've purchased from me before, or need questions answering before you buy, feel free to get in contact.
My natural Ink range is constantly expanding, with the stock I supply changing seasonally with new inks coming into the fold all the time: so keep an eye out for new stock coming in. If you enjoy the natural Inks and there are new things you'd love to see stocked I'm always open to suggestions and keen to hear your thoughts. Remember to be a considerate forager, lots of wildlife rely on the things you may find so only take what you may need and leave plenty for the birds and creatures of the hedgerow.


-
Place 500ml water into your pan of choice (quantity can be less or more- we're using more than we need to allow simmering/ boiling time for the galls to give time to extract pigment from the galls)
-
Optional Step - If you have the means to, with a hammer, large stone pestle and mortar or whatever makes a good bang, smash up oak galls. Using a towel, rag or bag will be helpful in keeping galls together and nothing flying all over the place. Do not use hessian bag provided within the set as this will be needed later.
-
Place bag of Oak Galls into pan and place this onto the heat.
-
Get the water to a boil and lower the heat down to a slow boil/ simmer. You will notice, particularly when at a boil the pigment will really start to flow off the galls.
-
Reduce the initial 500ml down using the paper swatches provided, intermittently dip these into your liquid and this will act as an indicator to the strength of your pigment.
-
A step you can do later or early is to filter off the oak galls within your liquid batch. To do so, using the hessian bag provided in a bowl, pour your liquid and gall material through the hessian bag. The bag will act as an effective filter to remove particles and any larger chunks of galls within the liquid. (other filters will also be effective for this e.g. coffee filters or other fine filtering intriments you may possess)
-
wash the pan you've been using to remove any particles which have managed to get themselves stuck onto the pan.
-
Re-pour your now filtered liquid back into the pan and bring back to a heat.
-
Once at concentration you're happy with take this off the heat.
-
If you have a fine measure, roughly find out what measurement of liquid you have remaning, this will likely sit within the 20-30ml range.
-
Take the 5ml Gum Arabic solution provided and add a ratio of 1-10 (10%) gum Arabic to liquid ratio. E.g. if you have 50ml of Ink add all 5ml of gum Arabic solution, 30ml ink- 3ml gum Arabic. Having a roughly right addition of gum is important, however I have made many an ink and at times been short of a measuring device so have improvised in their stead so don't stress.
-
Now your gum is added you have yourself a useable Ink. To preserve the Inks and prevent mold add a single clove provided into your now filled bottles. The cloves act as a natural mold prevention, however can be somewhat short lived. You can alternatively add a drop of Albas oil into your bottles if you have some which is incredibly effective at preventing molding. If mold does happen given time, all is not lost, simply scrape the layer of mold away (however grim this may be) and add another clove of Albas oil to extend your inks life.
-
You've done it!!! You have your first useable Ink. To start your play brush out a little circle on the provided papers and Pipette a single drop of iron sulphate onto your page and watch the magic happen, I wont spoil the results!!!
Make Your Own Ink Step by Step Guide:
So you've got yourself a Make your own Natural Ink kit.
This step by step guide goes through how to make your
own at home for an exciting ink you've made yourself.
To start, what's in your Kit:
2 x Empty 10ml Glass bottles with Aluminum Caps
1x 10ml Bottle Iron Sulphate
2x Cloves (within empty 10ml bottles)
1x 5ml bottle Gum Arabic Solution
1x Pippette
5x Paper swatches
1x Hessien Bag
1ox Oak galls (within your hessien bag)
5 x Paper test sheets
what you'll need:
-
1 x Stainless steel pan (cast iron pans may act to
-
modify inks when boiling, any cheap stainless steel pan will do)
-
1 x Spoon (to stir it all)
-
A sieve to put your coffee filter
-
Bowl to strain liquid into.
Right then! Now you've got your bits and bobs ready lets get on with a step by step on making your own ink with pictures to help guide you through the process, lets get making:


17) Bay Leaves
18) Rosehips
19) Hawthorn
20) Tulip Tree
21) Empress seed pods
22) Cherry Bark
23) Blackberry
24) Elderberry
25) Rowan berries
26) Walnut
27) Sycamore Seeds
28) Lawson Cypress
29) Viburnum Berries
30) Bluebells
31) Oregon Grape
